Homepage 9 Smart Home Steps for Renters Who Cannot Drill
Quick Summary
Renters can build a smart home renters can take with them by choosing devices that plug in, screw in, or stick on without drilling. Start with smart plugs, smart bulbs, and a battery-powered sensor, get landlord permission before anything else, and check each device’s compatibility with your phone’s platform before buying.
Start with two smart plugs, two smart bulbs, and one battery motion or contact sensor.
Get written landlord approval and keep a list of everything you install.
Check that each device works with Apple Home, Google Home, or Alexa before buying.
Thermostats usually need landlord approval, so use plug-in fan control as the renter-safe option.
Reset devices to factory settings before selling or giving them away.
Want a Smart Home Without the Full Price?The Wise Buy offers tested open-box and overstock devices with full condition details.
Why Renters Can Build a Smart Home Without Permanent Changes
Renters can build a working smart home without drilling a single hole. Most smart devices are designed to plug in, stick on, or screw into existing fixtures. This guide helps smart home renters set up a system they can take with them when they move.
Smart home devices for renters work best when they are portable. A smart plug fits into any standard outlet. A smart bulb screws into the lamp you already own. A removable adhesive mount holds a motion sensor to a wall without leaving marks when you remove it.
Watch out: Some adhesive mounts can pull paint or wallpaper when removed. Test the mount on a small hidden area first.
Get Landlord Permission and Check Your Lease First
Read your lease before you buy anything. Some leases ban changes to the unit, while others allow small upgrades that are easy to undo.
Send your landlord a short written message. Explain which devices you plan to use and confirm they will not damage the unit. A written reply gives you a record if a dispute comes up later.
Keep a simple list of everything you install. Note the device, where it goes, and how you attached it. This list makes move-out much faster.
Choose Smart Home Devices for Renters by Budget and Priority
Start with the devices that solve your biggest problem first. Most renters get the best value from a few well-chosen devices rather than a full system bought all at once. The trick is to stage your purchases so each phase works on its own and does not lock you into a platform you will regret.
Stage 1: The no-regret starter kit
Buy devices that work with any phone and any voice assistant, and that you can move to your next place without thinking about it:
Two smart plugs for lamps and small appliances
Two smart bulbs that use a standard screw base
One battery-powered motion sensor or contact sensor
These items need no hub, no wiring, and no drilling. They also work over your existing Wi-Fi, so you can test whether your apartment network handles smart devices before you spend more.
Stage 2: Security and entry
Once the starter kit is stable, add a door or window sensor and a plug-in camera or video doorbell that mounts with adhesive or replaces an existing peephole. Check your lease before adding a smart lock, since lock swaps are the one category landlords most often restrict.
Stage 3: Climate and energy
Climate devices save the most energy but need the most planning. A smart thermostat usually requires landlord approval because it replaces existing equipment. A plug-in fan or space-heater controller is the renter-safe alternative, provided you respect the plug’s wattage rating.
Priority order at a glance
Security: door or window sensor, plug-in camera, smart lock or doorbell only with permission
Lighting: smart bulbs and smart plugs for lamps
Climate: plug-in fan control first, smart thermostat only with approval
Security devices often give the most peace of mind. Lighting devices are the easiest to install. Climate devices save energy but need more planning.
Compatibility check before you buy
Before any purchase, confirm three things: the device works with your phone’s platform (Apple Home, Google Home, or Alexa), it connects over 2.4 GHz Wi-Fi if it is a Wi-Fi device, and it supports Matter if you want it to work across platforms later. A device that only works with one app can become a dead end when you move or change phones.
Where to check condition and price
Because we are online only, look at the pictures and the full condition and description in each listing on our website before you order. Pricing depends on the model, whether the item is new or open-box, quantity and delivery, so confirm the current price on our website rather than relying on a remembered figure.
Watch out: A cheap device that only works with a discontinued app is not a bargain. Check that the manufacturer still supports the app and firmware before you buy.
The table below sums up the three staged purchases and the priority order for a renter’s smart home.
Stage
Devices
Renter note
1. No-regret starter kit
Two smart plugs, two smart bulbs, one battery motion or contact sensor
No hub, no wiring, no drilling
2. Security and entry
Door or window sensor, plug-in camera or video doorbell
Check lease before adding a smart lock
3. Climate and energy
Plug-in fan control, smart thermostat
Thermostat usually needs landlord approval
Priority 1
Security devices
Most peace of mind
Priority 2
Smart bulbs and smart plugs
Easiest to install
Priority 3
Plug-in fan control first
Smart thermostat only with approval
Add Smart Plugs for Renters to Control Existing Lamps and Appliances
Fans and space heaters (check the wattage limit first)
Coffee makers and other small appliances
Holiday lights and decorations
Look at the maximum load rating before you buy. Do not use a smart plug with a device that draws more power than the plug allows.
Watch out: Never plug a space heater into a power strip with a smart plug. Connect it directly to the wall outlet, and check the rating first.
Set Up Wireless Smart Lighting for Apartments Without Rewiring
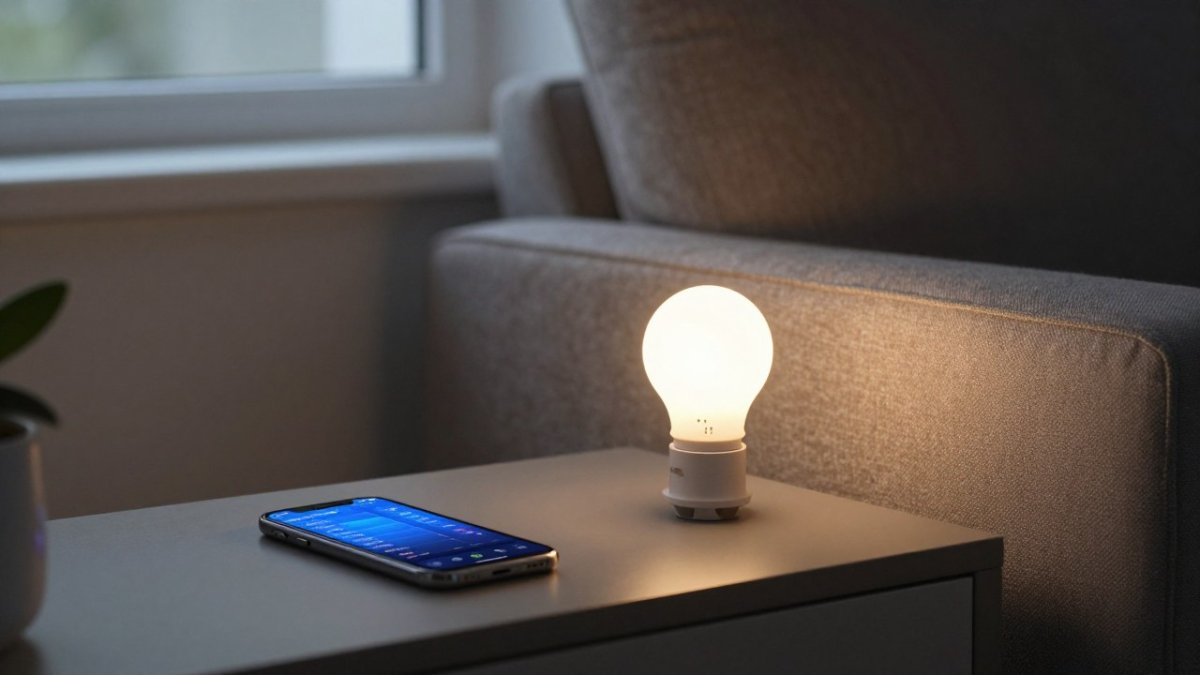
Wireless smart lighting for apartments is simple to set up. Screw a smart bulb into any lamp that takes a standard socket. Then connect the bulb to your app or voice assistant.
Process diagram for smart home renters setting up wireless plug-in lighting without any apartment rewiring.
Smart bulbs let you change brightness and color from your phone. You can also set schedules, so lights turn on before you get home.
A plug-in smart bulb lamp is a good choice for renters who want no installation at all. Place it beside a sofa or bed, and it works from day one.
Run Home Assistant for Renters Without Losing Privacy
Home Assistant is a free, open-source platform that connects many smart devices in one place, and smart home renters often choose it for that reason. It can run on a small computer in your home, so your data stays local rather than on a company’s cloud. That local-first design is the main reason renters who care about privacy choose it, but the privacy benefit only holds if you configure the network and accounts correctly.
Start small and keep it local
Home Assistant for renters works best when you keep the setup simple:
Start with one or two devices before adding more
Use a small computer, such as a Raspberry Pi, as the host
Keep the system on your home Wi-Fi network
Turn on two-factor login and change default passwords
Many people find the setup takes some time to learn. Expect a learning curve before the system feels easy to use.
Separate your smart devices from your main network
A common pattern is to put smart devices on a separate Wi-Fi network or guest network from your laptop and phone. This limits what a compromised device can reach. Check whether your apartment router supports a guest network; many ISP-provided routers do, but some landlords lock the admin login. If you cannot change router settings, keep the number of cloud-connected devices low and prefer devices that work locally.
Lock down accounts and data sharing
Use a unique password for Home Assistant and for each device app
Turn on two-factor authentication wherever the app offers it
Review each app’s data-sharing settings and turn off analytics you do not need
Place indoor cameras so they do not point at neighbors’ windows or shared hallways
Reset devices to factory settings before you sell or give them away
Handle shared apartment Wi-Fi
Crowded apartment networks cause pairing failures more often than bad devices. If a device will not connect, move it closer to the router during setup, confirm it is on the 2.4 GHz band, and retry. If your building provides Wi-Fi and you cannot access the router, a small travel router you control can give your devices their own network without touching the building’s equipment.
Watch out: Do not expose your Home Assistant dashboard to the public internet without a secure remote-access method. Use the built-in secure remote access or a VPN rather than opening a port on your router.
Plan Your Move-Out and Pack Up Your Smart Home Setup
Plan your move-out early so you do not lose track of devices. Use your install list to see what needs to come down.
Remove adhesive mounts slowly, pulling the tab downward and close to the wall. Restore any bulbs or fixtures you replaced, and keep the originals in a labeled box.
Pack devices in their original boxes when you can. Reset them to factory settings before you give them away or sell them, so they do not stay linked to your old account.
Ready to build a budget-friendly smart home? Browse our open-box and overstock listings, and check each item’s photos and full condition description on our website. Create an account at The Wise Buy to get started today.
Frequently Asked Questions
How can I turn my apartment into a smart home?
Start with devices that plug in or stick on: smart plugs, smart bulbs, a plug-in hub or a voice assistant, and battery-powered sensors. Put the hub on your home Wi-Fi, add one device at a time, and set a simple routine such as lights on at sunset. Keep a list of every device, its account and its location so you can remove everything cleanly when you move. Check your lease before adding anything that touches wiring or doors.
How do I set up a smart home without drilling holes?
Use adhesive mounts, plug-in devices and battery-powered sensors. Smart plugs and bulbs need no installation, and motion or contact sensors can be attached with removable adhesive strips rated for your surface. Avoid anything that requires replacing a switch, thermostat or lock unless your landlord approves it in writing. Test adhesive on a hidden spot first, since some paints lift when mounts are removed.
Which smart home devices can I take with me when I move?
Most plug-in and battery devices move with you: smart plugs, bulbs, cameras, sensors, voice assistants and hubs. Devices tied to fixed hardware, such as a hardwired thermostat or a smart lock that replaces your deadbolt, usually stay behind or need the original hardware restored. Before you move, remove each device from its app, factory reset it and reinstall the original fixtures if you changed them.
What should I check with my landlord before setting up smart devices?
Ask for written permission before installing anything that changes wiring, doors, locks, thermostats, window treatments or walls. Confirm your building’s Wi-Fi rules and whether you may use your own router or access point. Ask who keeps any installed hardware at move-out and how the unit should be restored. Keep the approval email with your lease records so there is no dispute when you leave.

 Add more eligible items to your cart to unlock free shipping.